It is simple to take Screen-shot in windows/7/8/11
To Take screen-shot in windows 7 follow this steps & me also..
Step : 1 ) Come on the home screen of windows
Step : 2) Press Window button or key on the keyboard
Step : 5) Click on the new button..
There is four options to take screen shot
Step : 6) If you want to take a circle or any shap screenshot then select this option.
See this
Step : 7) If you select second option ,there is a Rectangular snip
Then one + icon is floating...So you can dreg this icon and it's grab shot
Step : 8) If you choose third option there is window snip
In this snip you can snap all window when you
touch any point on window.
see this
Step : 9) If you select fourth option , There is a Full-Screen snap
By this option you can snap your full window image..
Step : 10) After snap your image is Ready for save.
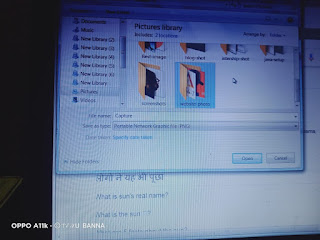
Step : 11) Go on the top left corner there is save button.
Step : 12) When you click The save button .
You enter your laptop's storage.
Step : 13) Write your file name for save in storage.
Step : 14) It's important to know , where your file have store.
So, store your file carefully
Step : 15) If you are forgot whether is your file, So don't worry I'm here , So simply type ctrl + F button. And see on the bottam right corner, There is one search bar .
Step : 16) Search your file name in the search bar .
Step : 17) Congratulations here your snap-shot is Ready !!!
Thank-U For visiting our blog....
If you find something helpful
So, please Follow as.....
: )


टिप्पणियाँ
एक टिप्पणी भेजें